Sunday, June 26, 2016

Week 6

Week 5 and 6 came and went and we had done lots to the tractor...
The whole thing is totally striped down with just the frame and tyres - one of the tires kept going flat so we had to get a new one - another $89 and we were left thinking that's more for a car tyre and there is less rubber, so where do they get that price from....

The painting has begun but needs lots of sanding and re doing so thats a work in progress.

We have divided off into teams with different groups doing different things

One group of girls have gone off on a totally different tangent and are designing a trailer for the tractor - after all how can you cart stuff round without a trailer !

Other groups are looking at lights - electrics - wiring - transport tray - tractor blade - mudguard design - steering - seat design - safety roll bar - electric motor and solar panel design and fitting so there's lots to do.

As the children come up with designs and measurememnts we work out what is needed and then I get the steel - they cut some of it up and then I weld it up for them.

The trailer goes back to school on Tuesday so the girls can set it out and clamp it ready for welding - the others who designed the roll bar etc need to look at bracing and come up with a plan, the seat designers need to drill holes for the bolts for the seat and the painters need to sand down the bonnet redy for its last coat of paint. At the same time they need to work out how to connect the bonnet to the tractor - and make it with a flip top lid so we can access the batteries. The boys doing the wiring must get the wires down the roll bar before we weld the last bits on too !
LOTS TO THINK ABOUT !

Here's some pictures to look so you can see the latest progress on the tractor - it is now starting to take shape and everyone is excitied !

Mrs Buckley has already booked in a trial ride when its finished !

 The painters hard at work with the yellow paint - its already been nick named the bumble bee for obvious reasons !
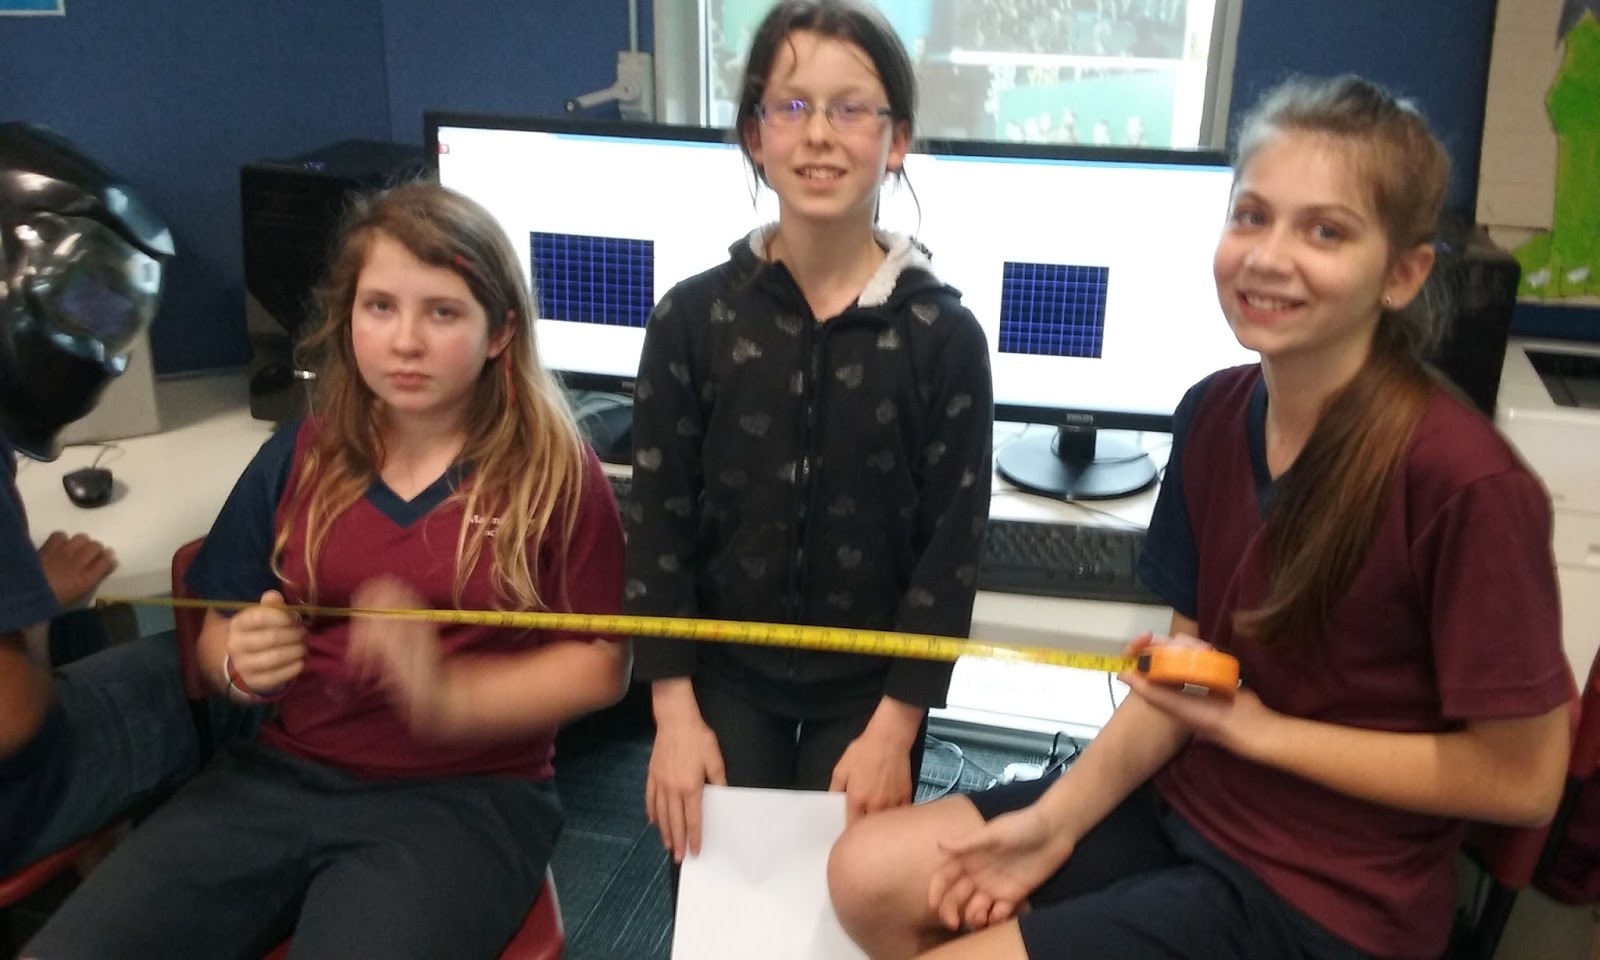
 The trailer design team take their job very seriously and have devised plans and measurememnts ready for the kitset trailer
 The seat design was a hard one as we had to work out what height and where it has to be positioned on the deck
 Totally stripped down and with additions all ready - here you can see the seat frame and the roll bar
 Steering column is welded in place and the first part of the rear mudguards is welded i there too
 Did we tell you about the transport tray too with a towing ball ready for the tractor
 This is the yellow colour - hence the name bumble bee
The wheel with the knobbly tyre is off an old rotary hoe - nothing is wasted here and lots of parts are recycled ! Our trusty welder is there too


Week 6

Week 5 and 6 came and went and we had done lots to the tractor...
The whole thing is totally striped down with just the frame and tyres - one of the tires kept going flat so we had to get a new one - another $89 and we were left thinking thats more for a car tyre and there is less rubber so where do they get that price from....

The painting has begun but needs lots of sanding and re doing so thats a work in progress.

We have divided off into teams with different groups doing different things

One group of girls have gone off on a totally different tangent and are designing a trailer for the tractor - after all how can you cart stuff round without a trailer !

Other groups are looking at lights - electrics - wiring - transport tray - tractor blade - mudguard design - steering - seat design - safety roll bar - electric motor ad solar panel design and fitting so there's lots to do.

As the children come up with designs and measurememnts we work out what is needed and then i get the steel - they cut some of it up and then I weld it up for them.

The trailer goes bak to school on Tuesday so the girls can set it out and clamp it ready for welding - the others who designed the roll bar etc need to look at bracing and come up with a plan, the seat designers need to drill holes for the bolts for the seat and the painters need to sand down the bonnet redy for its last coat of paint. At the same time they need to work out how to connect the bonnet to the tractor - and make it with a flip top lid so we can access the batteries. The boys doing the wiring must get the wired down the roll bar before we weld the last bits on too !
LOTS TO THINK ABOUT !

Here's some pictures to look so you can see the latest progress on the tractor - it is now starting to take shape and everyone is excitied !

Mrs Buckley has already booked in a trial ride when its finished !

 The painters hard at work with the yellow paint - its already been nick named the bumble bee for obvious reasons !
 The trailer design team take their job very seriously and have devised plans and measurememnts ready for the kitset trailer
 The seat design was a hard one as we had to work out what height and where it has to be positioned on the deck
 Totally stripped down and with additions all ready - here you can see the seat frame and the roll bar
 Steering column is welded in place and the first part of the rear mudguards is welded i there too
 Did we tell you about the transport tray too with a towing ball ready for the tractor
 This is the yellow colour - hence the name bumble bee
The wheel with the knobbly tyre is off an old rotary hoe - nothing is wasted here and lots of parts are recycled ! Our trusty welder is there too


Wednesday, May 25, 2016

Week 3 - Dead Ant !

Week 3 saw a big jump in progress and looks - now its starting to lokk like its down to bare frame
A little to go yet but getting there
And its a bit dirty still so there's big hints going round about the water blaster again !

A pictures worth a 1000 words so look at these

And the wheel is off and gone to the tyre fixer to get fixed !
The girls were so patient in getting the tyre off but we got there

This week they learnt a whole lot of new terminology apart from the usual "TOOL WORDS"

Words like curclips, gear puller, gearbox linkage, reciprocating saw, all added to the vocabulary mix when we wanted something done but it was great fun and they were here at school this morning at 7:30 - in old clothes - ready to "attack" the mower before school

We definitely have some budding engineers, mechanics and designers in this group and its going to get better !

 We discussed drilling out the rusty screws and tried but the screws were too hard and the new steel drill just "tickled it !"


 Some of the girls said they would rather do the taking apart of the mower than the painting so we swapped people round to the new jobs
 motor cover with its first coat of paint
 Dead ant impersonation with a wheel off !
This is what we wanted to get to - the chain and sprocket so we can see where the motor is going to go

Wednesday, May 18, 2016

Week 2 progress

Our work so far is progressing well
Just waiting for more comments

Pictures below tell the story

Today at options, Charlotte and I continued trying to take the wheel off. We took turns hitting the back of the wheel with a hammer while the other one of us turned the wheel. We made little progress as it seemed as if the wheel was completely embedded inside, but we still managed to loosen it a bit more. Like they say: “slow and steady wins the race.” Afterwards, everyone got a turn to wash the now-bare mower with a water blaster. The sound was deafening. I’m guessing that the mower was completely soaked with water afterwards.

-Kelly

WATER BLASTING WAS REALLY FUN. I REALLY ENJOYED IT. OUR PROGRESS SO FAR IS GREAT AND I AM LOOKING FORWARD TO SEEING THE END RESULT. -ASHLEY


Progress for week 2 and we have got lots done ! This week we learnt about cleaning it all up - hence the course on WATERBLASTER 101 !


Week 1 Thoughts and ideas

We all have access to a shared Google doc and just fill it in where we can
This is a copy of the document so it may be a bit disjointed but you get the idea

Thanks to everyone who has contributed to it so far

So today we had our first session making our tractor. I must admit, I was feeling a little incompetent having gotten one bolt undone in the two periods (we didn’t realise there weasna nut under the second.) Hopefully next time though, I will get a bit more done.

I liked getting my hands dirty and getting started, it was a good challenge! In terms of what I learnt- that nuts are righty tighty, lefty loosey, and bolts are the opposite! Thank you Mr Gover for getting all the supplies, e.t.c.

-Ashley

Today we had our first 2 periods of options, and it was really fun doing some hands-on learning. I enjoyed it alot even though we only got one bolt undone during the time we had (the second bolt had two nuts on it when the first bolt didn't have a nut at all.) Next time, I hope Ashley and I will get a bit more done.

Today I learnt how to undo nuts, following this rule righty loosey, lefty tighty and that bolts are opposite. Thank you Mr Gover for the amazing opportunity you have given us to learn skills that we may never really be exposed to in our normal day to day life.

-Megan
I really enjoyed our first tractor making session and I think that next week is going to be even better because we will know what we’re doing.

Today I have learnt how to take off the wheel when it is stuck on. I had lots of fun and I can’t wait till next week to do more. Thank you Mr Gover for helping teach all of us on how to strip the mower and how to use the tools to loosen the nuts and bolts.

-Charlotte

I really enjoyed the lesson it really helped with my understanding with tools. I started working on the mower on the bottom it really helped with team work. Thank you Mr Gover for helping and teaching us.
I loved the first lesson. We are pretty much finished with the mower deck its just a few more tight bolts and nuts.

-Isaac

I enjoyed our first tractor making lesson even though we didn’t get too much done. Charlotte and I had to take off one of the wheels on the tractor. We first had to take off the cover of the wheel. Then, we used a spanner and a crescent to take off the nuts and bolts.. We are currently hitting the back of the wheel with a hammer to loosen it. Our progress was a bit slow and I hope to finish taking off the wheel next time. Thanks for teaching us how to use all the tools.

-Kelly

Hi guys  if you want some extra time on the tractor then come down at lunchtime tomorrow ! We need to get that mower deck off !
Everyone did so well today - they all got involved - all got their hands dirty and I know they learnt heaps ! And we got to use the grease cleaner on our hands and then wash it off ! Thanks jason for the use of the shed ! a good makey makey area. Once we have stripped it down and maybe use the water blaster to clean it then we can get it to room 28 and do the rest there - that way we won’t make a greasy mess !
Who wants some lessons in using the water blaster ????
Mr Gover

Put your name here for “water blaster lessons 101”
..Charlotte
..Megan
..Isaac
..Ashley


What I was doing, today
My job, today (with Vaea, Isaac and Sasha) was to remove the mower at the bottom of the lawn mower. Some of the nuts and bolts were very small and others were very rusty, which made the job harder and the CRC very handy.
What I have to do/finish off
Sadly, we didn’t finish it so we will have to do it next tuesday.                                                                                                                                                                                                                                               
Luckily I’ll be coming tomorrow (Sorry guys, especially mr Gover, if I forget about coming).
- You will not forget - we will hunt you down ! - Mr G

Hint for tomorrow guys
That whole mower deck is held on by several sets of bolts and springs - get those off and we should be good - you may have to cut the belt that goes round the pulleys and there’s a wire that needs cutting too - the one that raises and lowers the deck - check the handle that lowers and raises it - follow it through and you will see how it works !
Be careful undoing the last few bolts - we don’t want it falling on a foot or a hand - maybe block it up first and then let it drop - then take out the blocks one at a time !

We need goggles and earmuffs from Room 28 too - can someone organise that for us please !


Let's do something different ! Week 1

take an old ride on mower...
and a electric motor out of a mobility scooter

Combine those and make it into a tractor !

Sounds like fun then read on !!

we have been having heaps of fun !


Tuesday, April 12, 2016

What about this ??

A Challenge for us all for Term 2


We have decided to run this as an Option for term 2
How would you like to take an old ride on mower and parts from a ride on scooter - electric motor and controller and "convert it" to a child's ride on battery driven tractor !

Adventurous !
Great fun !
Lots of work !

We will be asking if we could have some helpers to make this idea work !

Are you up to it ?

Keep coming back as we update this once school starts

We will have 12 children for the 10 week session.
2 will be bloggers and 1 will do video and one pictures - those 4 will be responsible for the report each week. Next week will be a different 4.
they will still be able to help but must put up the pictures and text and video before the end of the current week !

By the time it comes to school it wont have a motor or catcher though

here is what it started as, a bit sad !