26 March If you scroll down you can see the lesson sequence etc but look at what they have made...

ipad holder for the car (v1)

key holder

shopping bag holder

funnel - version 1
ring holder

signed ball holder

to display his toy

funnel for my tractor (long story)

pen holder

Desk Tidy

Go Pro camera holder for the Quadcopter
Lesson sequence - self paced and easy to follow
Lesson 1:
Forget the BIG problems like Global Warming or
saving the dolphins - they will take a long time…..
We have 4 weeks to create something on the 3D
printer that makes a difference for someone.
...be it BIG or be it small it needs to help
someone… it’s the little things that make a difference
Think about the little things round your house that
are broken, are annoying people or something that needs upscaling or up grading
to make it better…
Think outside the square and maybe you could make
it on the 3D printer…
What about ??
- the broken hinge on the cupboard?
- the Xbox controller stick ?
- the ipad holder ?
- the number on your letterbox ?
- the door stop ?
- · the funny shaped funnel ?
You have the time, the motivation and the
TECHNOLOGY to do this ….
You can make a difference and create something
fantastic !
You have 1 week to come up with 3 things round your
home that you could potentially create a solution for…
Look at them and discuss it with family members to
see which one suits the brief .. will it make a difference ????
Write down the 3 things - give reasons why this is
important to FIX the problem
Write down the one you choose and draw plans, take
photos and bring the bit to class for next week
In the meantime you need to log into Tinkercad -
create a user and password and become familiar with the programme
You MUST practice using the programme during the
week ready for the next lesson
Lesson 2:
You probably won’t get all this done in
the 2 periods we have so consider this homework if you don’t finish this by the
end of the lesson
So now you have the problem and you have “nutted
out” a solution.
We like the drawings and pictures you have in your
book and the plans you have drawn. The best part is the way you have made note
of the measurements for the item you are going to make.
And the you have “played” with Tinkercad….
Now let’s look at the Tinkercad programme in depth
and show you how to think outside the square when you attempt to draw the item
you will eventually print out on the 3D printer.
Now you can start drawing the item in Tinkercad -
make sure you have got all your measurements correct !


Does the Tinkercad drawing look like the item you
need to print out ?
What ??
….you ran out of time ??
Homework is to come back to class with a finished
drawing in Tinkercad all ready to convert the file to an .stl file for the
printer.
Lesson 3
If you haven’t finished your homework now is a good
time to sit quietly and get it done.
You need to make sure you watch and learn about each
of the 3D printers and the programmes they use to create the 3D print
Now you are definitely behind in your work !
We need to teach you how to download the finished
3D drawing as an .stl file.
This is a file the next programme uses to “slice”
your drawing ready for the 3D printer.
We will spend a bit of time showing you how each
printer works and the software for each. They are slightly different but all
achieve the same goal - a personally designed, created and printed 3D object.
Choose which printer you want to print on and go to
the software for that printer.
Go to Tinkercad and finish the drawing and download
it
Save it in your class folder
Use the right software to make it compatable for
your 3D printer
Write your name on the PRINT LIST
Lesson 4
Have you checked if your 3D print is done ?
If it is completed you need to take a picture of it
and put it in your book

Write down what you think of the product you have
made ?
Do you think it will do the job ?
If not what changes can you make ?
if you take it home to “fit it” take a picture and
put it in your book


Get feedback from the the other family members on
what they think !
Any suggestions - modifications etc they
think you could do ?
Maybe go back to Tinkercad and re do the model
Show evidence of changes - before and after and
explain why !
If you have finished all of this then now is a good time to go and help someone else because you have all this new knowledge and expertise and its good to share it around !


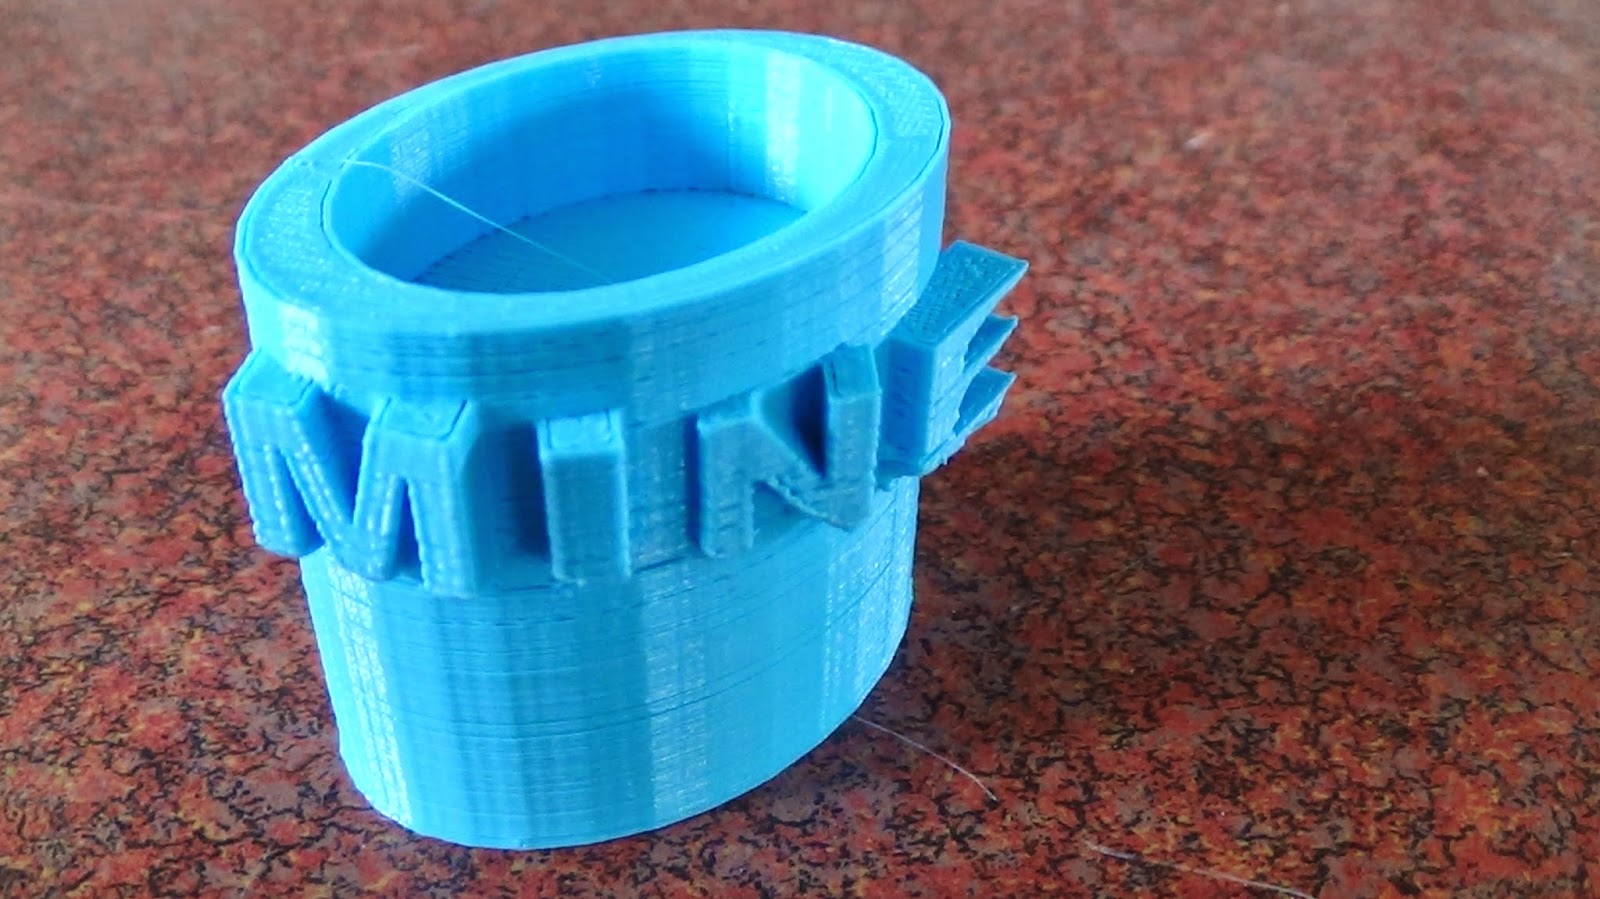
And here are some that need to be re - done - slipped on the print bed - too big or just NOT RIGHT

We already know the 3D printer wont print in mid air !

This one slipped on the print bed - and its a bit big too !
2014
We have been designing projects to print on the 3D printers.
We have some clips from MVTV
William explains http://youtu.be/d3556FKstPI
Version 2 http://youtu.be/Yj26LBVF5ak
No comments:
Post a Comment